A Tour of Randy’s Toy Shop
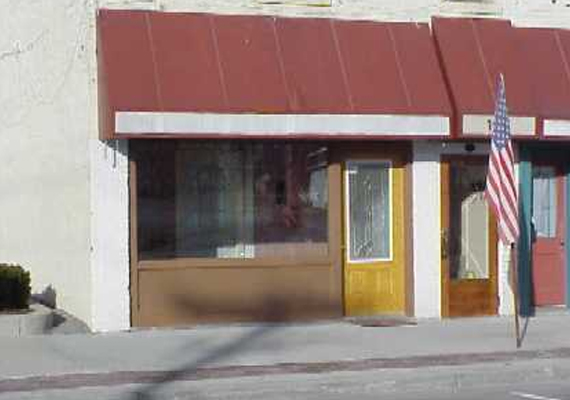
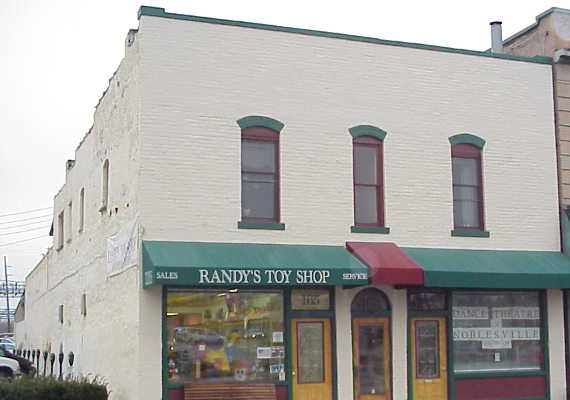
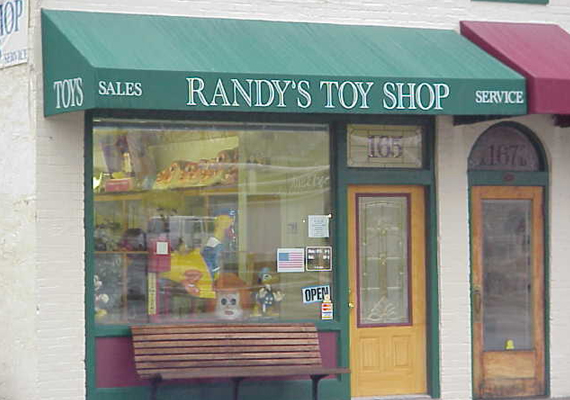
Here are the before, during and after photos of our restoration of this beautiful 1890’s building in historic downtown Noblesville that is now home for Randy’s Toy Shop. Or click here to see jump ahead and see what it looks like today.
.
Enjoy the tour!
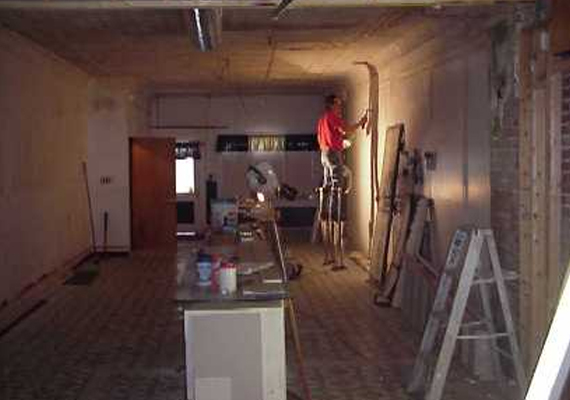
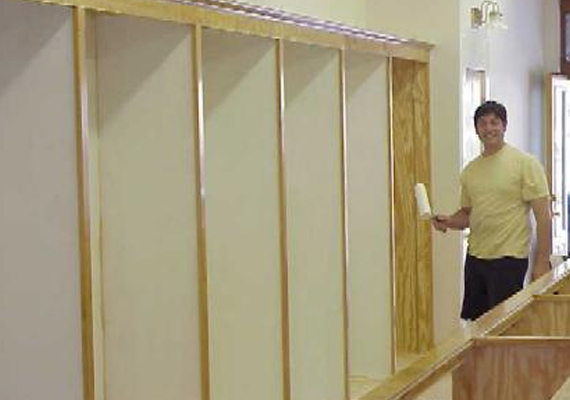
1/8/99 – In this shot, Jim is working on the drywall – Don’t fall off those stilts! In the back of the picture is the inside view of the old storefront.
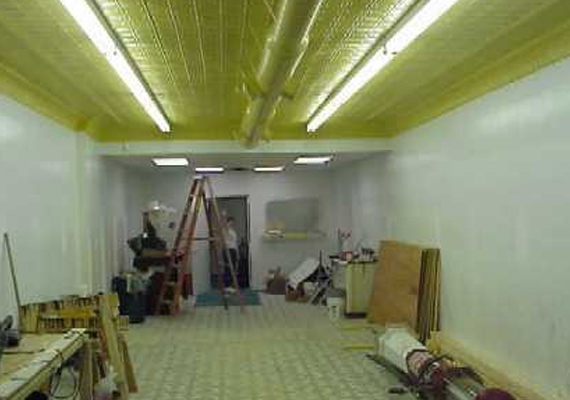
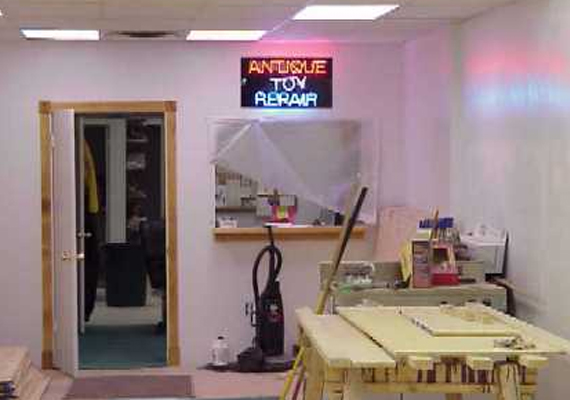
1/26/99 – This is the opposite view as above. You can see that Jim did an excellent job on the drywall, and the ceiling has been restored. The door in the back is to the Repair Shop – wave to Mom!
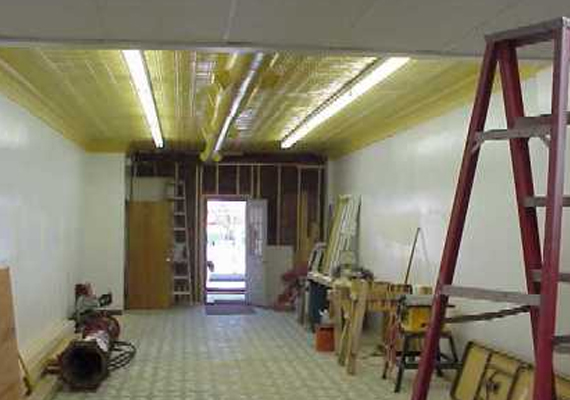
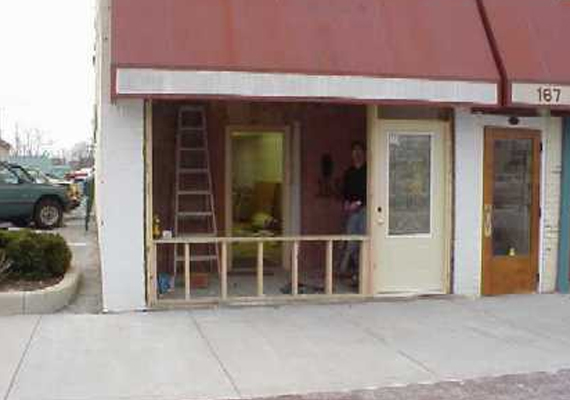
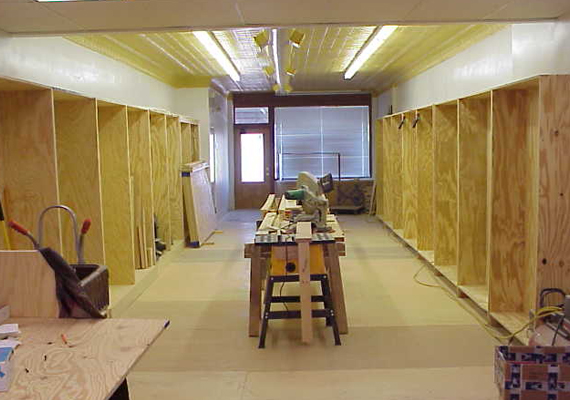
1/26/99 – This is the same view as the first picture above. Showing the temporary front wall that replaced the storefront (see below for the outside view).
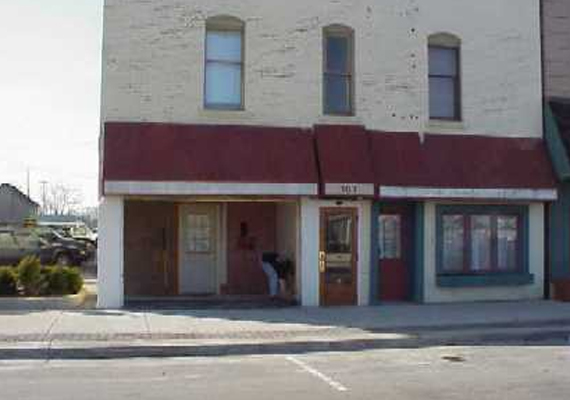
1/26/99 – This is a view of the front of the shop from across the street. The shop is on the left, and the dance studio is on the right.
1/27/99 – Jim is working on the storefront some more. You can see the temporary wall just behind (the door is open).
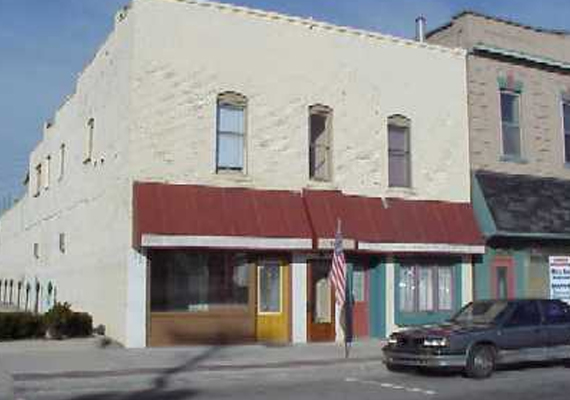
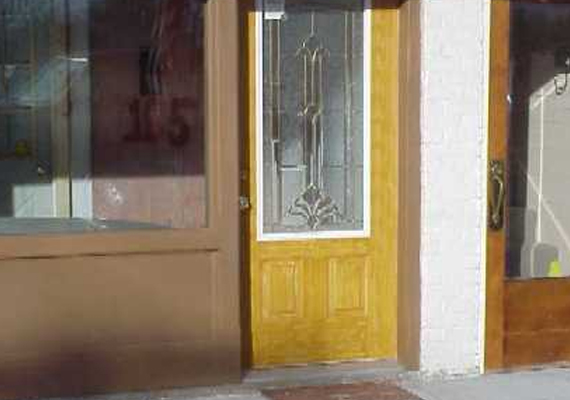
2/15/99 – This is the new storefront and door, as seen from across the street.
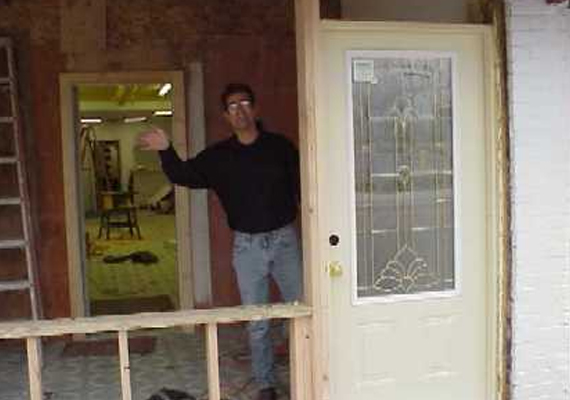
2/15/99 – This is a closer view of the new storefront and door. We think Jim did a great job!
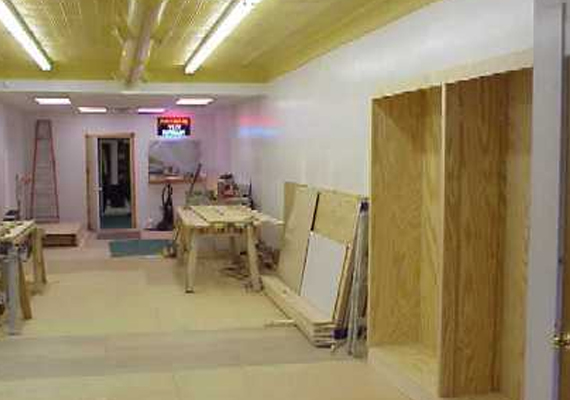
2/20/99 – Here is a shot of two of the new display cases that will display antique toys for sale.
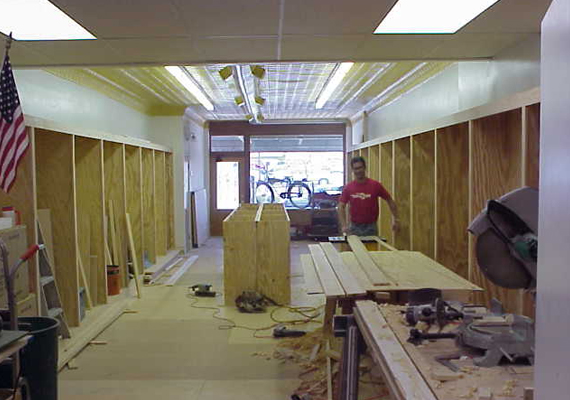
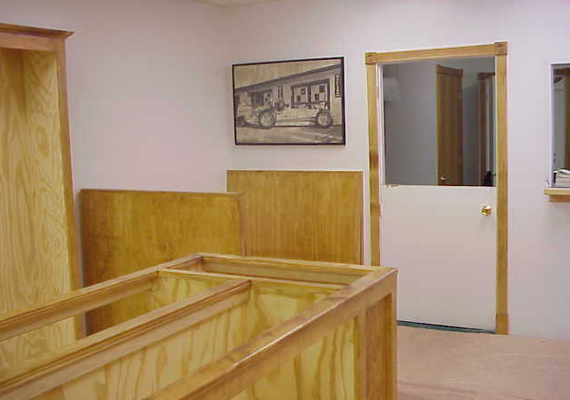
2/20/99 – Here is a view of the entrance to the office. Compare this to the second photo (above), which is the same view about 3 weeks ago.
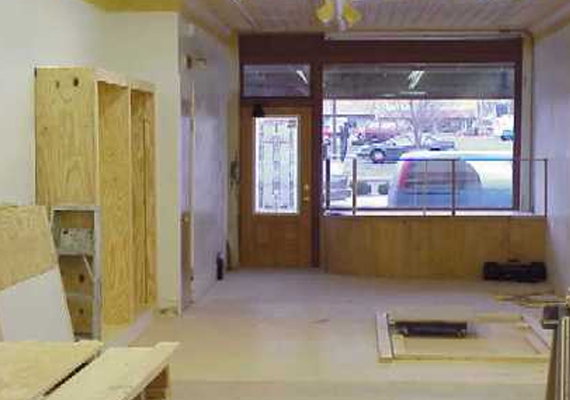
2/20/99 – Here is a view of the inside of the new storefront. You can see the display area for the front window, and also the two new display cases on the left.
3/15/99 – Most of the display cases for the sides of the shop are built. They still need finishing, shelves and glass. There will be another, shorter row of cases going down the center of the shop as well.
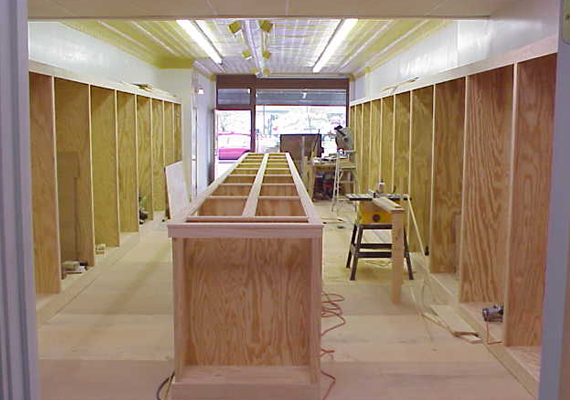
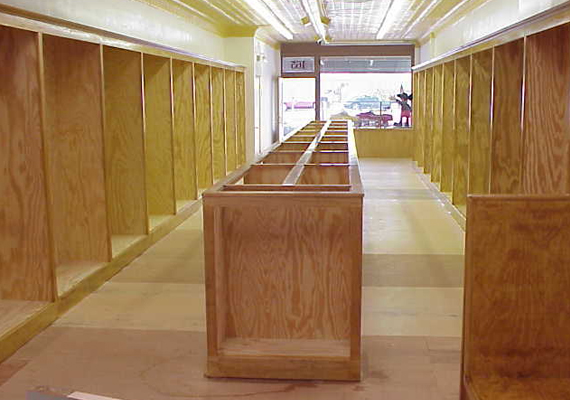
3/24/99 – Here you can see that Jim has finished the facing on the wall cases and is starting work on the cases going down the center of the shop.
4/2/99 – The cases are all in place now, and ready for the final finishing, painting and glass.
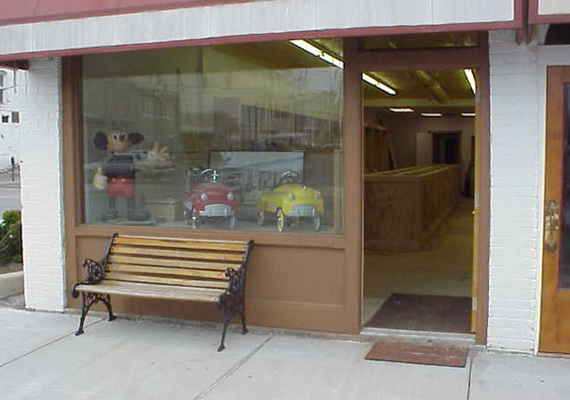
4/2/99 – Here is the front of the shop finally completed! Two of Randy’s pedal cars are on display in the window already.
4/21/99 – The booth is nearly complete, and you can see the floor is ready for the new carpet coming soon. Look at the 2/20 and 1/26 pictures above to see the progress as the booth came together.
4/21/99 – The cases have just gotten their final coat of varnish. The insides will be painted gloss white.
4/22/99 – Here brother James is painting the inside of the cases gloss white.
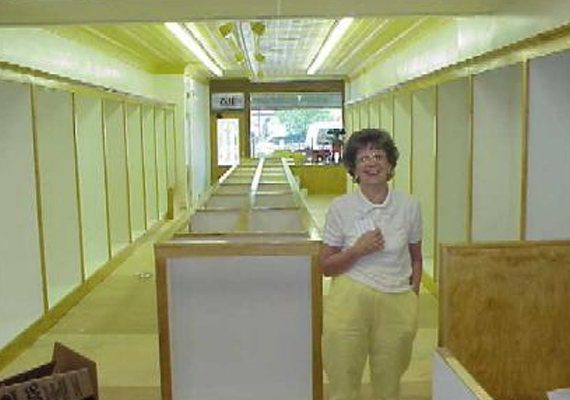
4/28/99 – Mom looks happy because the painting’s almost done. The first coat is on and James is half way done! Randy says he should also give Mom credit too because she did most of the work, but Mom says “Not really.”
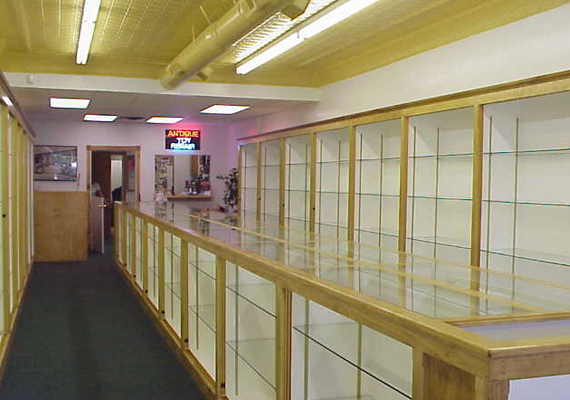
7/6/99 – Here are the display cases all completed and the glass is in place. Its hard to tell from this picture, but the front of the case is glass as well.
You can also see all the nice work done on the ceiling.
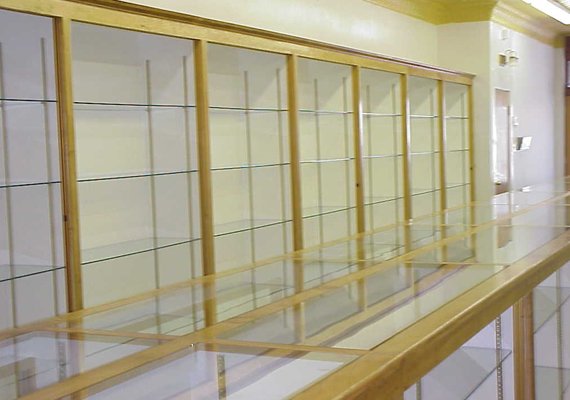
7/6/99 – Here is a closer view of the cases from another angle. Notice that each of the shelves are glass and adjustable. These allow better viewing of the displayed toys.
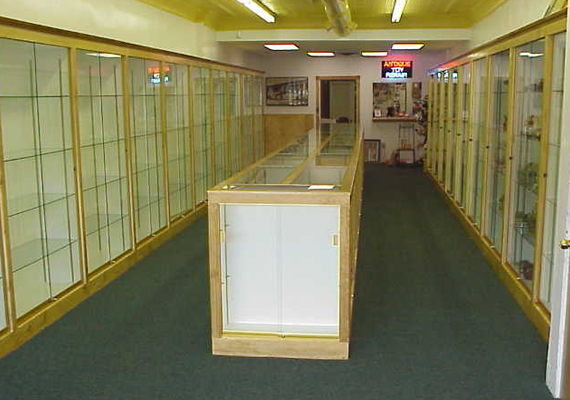
7/16/99 – Here is another view of the completed cases. A couple are already filled, and most others are already spoken for. As you can see from this picture, the cases run the entire lengh of the shop.
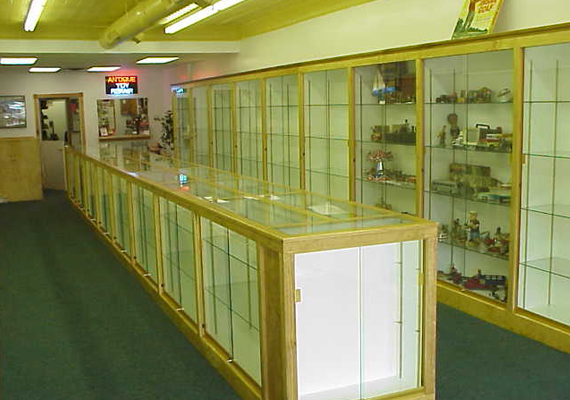
7/16/99 – And another view of the completed cases. This view gives a better view of the 2 filled cases.
To see the cases in their current condition, and the toys they contain, go to Randy’s Antique Toy Mall.
11/29/01 – Here is a new look for the shop. The new awning really adds to the look of the shop.

